| Photographic ways to get rectify image: |
| 1. Get to the right Viewpoint The easiest way to take rectify image is: To point the lens axes perpendicular to the center of the object's plane. Or with other words: To keep film's plane parallel to the object's plane. If the object is too large (the distance between the camera and the object is not sufficient) the field has to be divided to couple of sectors and assembled to complete image after taking rectify picture of each sector. |
 |
|
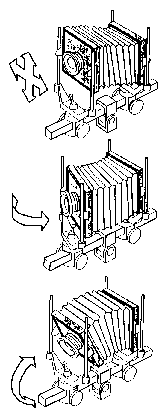
2. Optical rectification (perspective correction) |
 1 1 |
 2 2 |
 3 3 |
| 3. Digital rectification This is rectification with computer using software for raster image processing like: Photo Shop, Corel Photo Paint, and AutoCAD applications. |